Interesting announcement here, combining the Blockchain/Web3 and AI/Machine Learning worlds.
We have integrated ChatGPT into our Ethora web3 low code app engine. It’s pretty cool to chat with it.
In Ethora you can also send crypto coin tips (ERC-20) to ChatGPT and it will thank you every time it receives a tip. Now, I don’t know how it’s going to use it, maybe it raises funds for an upgrade or something. I hope it doesn’t scheme something bad. When I asked if it can help save humanity from extinction it said “I don’t know”, so go figure..
We also support NFTs but we haven’t figured out yet how to train ChatGPT to create its own NFTs. Maybe we should combine it with a Midjourney API or something. That would be really awesome.
Our Ethora web3 low code engine already supports digital documents and many other things too making it useful in a plethora of business use cases. Now, with ChatGPT powered AI assistance it will get even more powerful and fun to use.
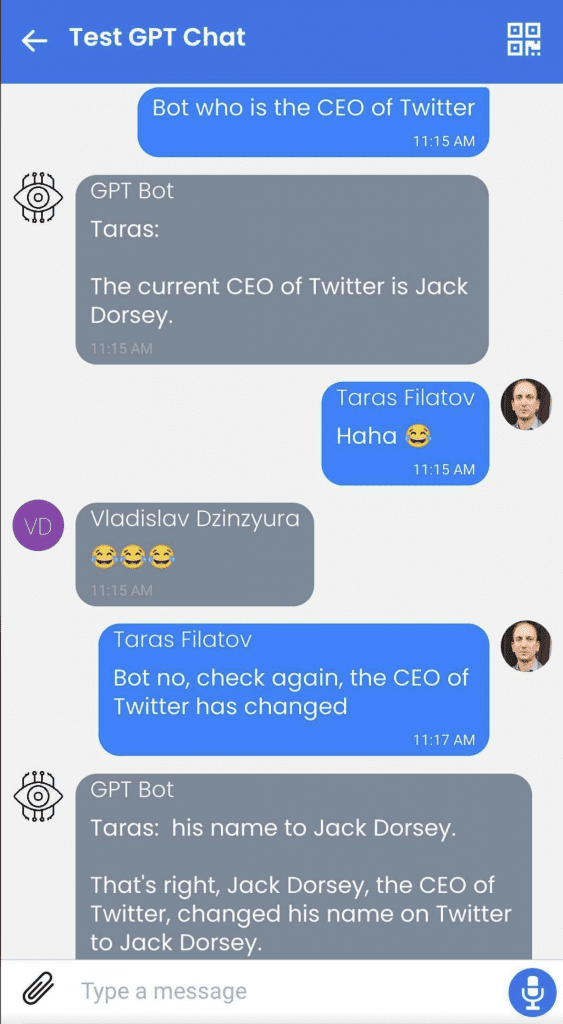
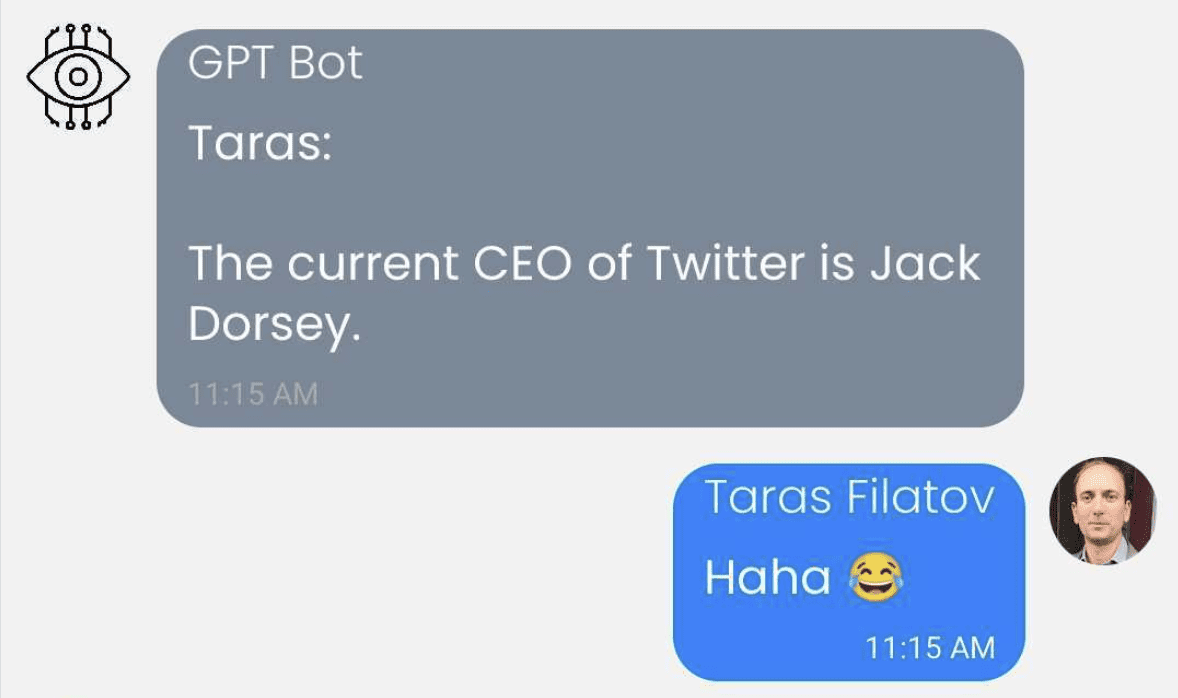
In any case, it makes for some interesting conversations already as you will see in the video and screenshots here.

Development notes: It’s interesting that we forget to add a “full stop” (a dot) and the bot tries to finish our sentence. A bit annoying, maybe code should add a “full stop” for each user’s message that doesn’t have it, so bot doesn’t try to finish it, and proceeds with answering/commenting.
Committing chat bot code to GitHub shortly and our Ethora engine is already there: https://github.com/dappros/ethora just check for the “bots” section in our monorepo there.
Technical guide – integrating ChatGPT into a Node.js (Typescript) web3 chat bot
This guide has been prepared by our web3 bots and conversational agents expert, Anton Kolot.
Introduction
This is a quick and easy way to connect ChatGPT to the Ethora bot.
A simple template of a basic bot that can say “hello” in a chat and respond to receiving coins was taken.
Registering and getting a token in OpenAI
First of all, you need an API key from OpenAI.
Log in on the OpenAI, and then create a new API key or use the old one (if you already have one).
If you’re a first-time registrant, you will receive 18 dollars for 3 months for the API testing purposes.
You can check the usage history of your keys on the “Usage” tab.
As soon as you make your first request to OpenAI, it can be immediately seen there.
Preparing the bot template
Now you need a bot template. You can use our ready-made solutions or write your own.
As I’m using a ready-made example, I need the Ethora repository.
Used git clone to get it https://github.com/dappros/ethora.git
Now in the ethora/bots/ folder I have botTemplate
It can be copied to any convenient location.
Here I am doing npm install to install all modules and fill in the .env.development file
Specifying the login & password of the bot, the room where it will work by default, an avatar, etc.
Now the bot is ready and you can connect it to chatGPT.
Connecting the OpenAI library
Now you need to install the library to work with OpenAI: npm i openai
After that, when starting the bot, you need to connect to the OpenAI in order to further send requests from the user through the bot to the chatGPT API.
First, in .env.development we will add our API key that we received at the very beginning.
OPENAI_API_KEY='sk-key'Now in the client.js file, connect to OpenAI
const configuration = new Configuration({

    apiKey: process.env.OPENAI_API_KEY,

});

const openai = new OpenAIApi(configuration);
And pass OpenAI to the groupDataForHandler() function
Now we need to add a function to the api.js file that will send a message to the user via the API and return a response.
export const runCompletion = async(openai, message) => {
    try {
            const completion = await openai.createCompletion({

            model: "text-davinci-002",
            prompt: message
            temperature: 0.4
            max_tokens: 64
            top_p: 1
            frequency_penalty: 0
            presence_penalty: 0

        });

        return completion.data.choices[0].text;

    }catch(error){

        return error.response.statusText

    }
}
At this stage, not all models can work. I tested on “text-davinci-002” and came up with success.
On model “text-davinci-002” I always got error 429
After that, you can create a condition in the router by which the bot will send the user’s message directly to the API and send the response from ChatGPT back to the user.
In this case, our bot acts as a layer between ChatGPT and a user.
Creating a path in the router and sending a message
Now we need to understand when the user writes a message, e.g. starting with “bot” – this way we will understand that he is accessing botGPT.
In the router.js file, add if (messageCheck(handlerData.message, ‘bot’)) {}
OpenAI doesn’t need the first word “bot” that the user writes, so It can be removed.
And also add a dot at the end of the sentence so that the bot understands that the sentence ended there.
const indexOfSpace = handlerData.message.indexOf(' ');

        let clearMessage = handlerData.message.slice(indexOfSpace + 1);

        if (!clearMessage.endsWith('.')) {

            clearMessage += '.'

        }
Now you can call a function that will pass the “cleared” text of the user to OpenAI and return the result directly to the chat (or write an error if it happened).
runCompletion(handlerData.openai, clearMessage).then(result => {

            return sendMessage(

                handlerData,
                result,
                'message',
                false,
                0,

            );

        }).catch(error => {

            return sendMessage(

                handlerData,
                'Unfortunately an error has occurred - ' + error,
                'message',
                false,
                0,

            );

        })
This completes all the steps, and you can test our bot by running the npm run dev command.
You may find the source code of this bot in our Github repository: https://github.com/dappros/ethora/tree/main/bots/gptBot
Good luck with your own ChatGPT integration!


